Create a Workflow
Workflow allows you to connect commands and other nodes to perform more complex actions or automation.
New Workflow
Follow these steps to create a new workflow:
- Search “Workflows Page” in the Command Bar.
- On the Workflows Page, click the ”+ New” button.
- Input the workflow name and description.
Adding Trigger Node
The trigger node is the starting point when you execute a workflow. In this section, we’ll use the Manual Trigger node. The Manual Trigger node will be the starting point when executing the workflow by clicking the “Execute workflow” button or the Command Bar. To add the node, right-click at the editor canvas, click the “Add node” menu, and select the “Manual Trigger” node.
Node Connection
There are two ways to connect nodes:
- Dragging the output handle of the node.
- Dragging the node output handle into another node input handle.
To remove the node connection, you can either click the node connection and press the backspace key or right-click on the connection and click the “Delete” menu.
Running Workflow
Before running the workflow, make sure to save the workflow first. To run the workflow, click the “run” button at the top right.
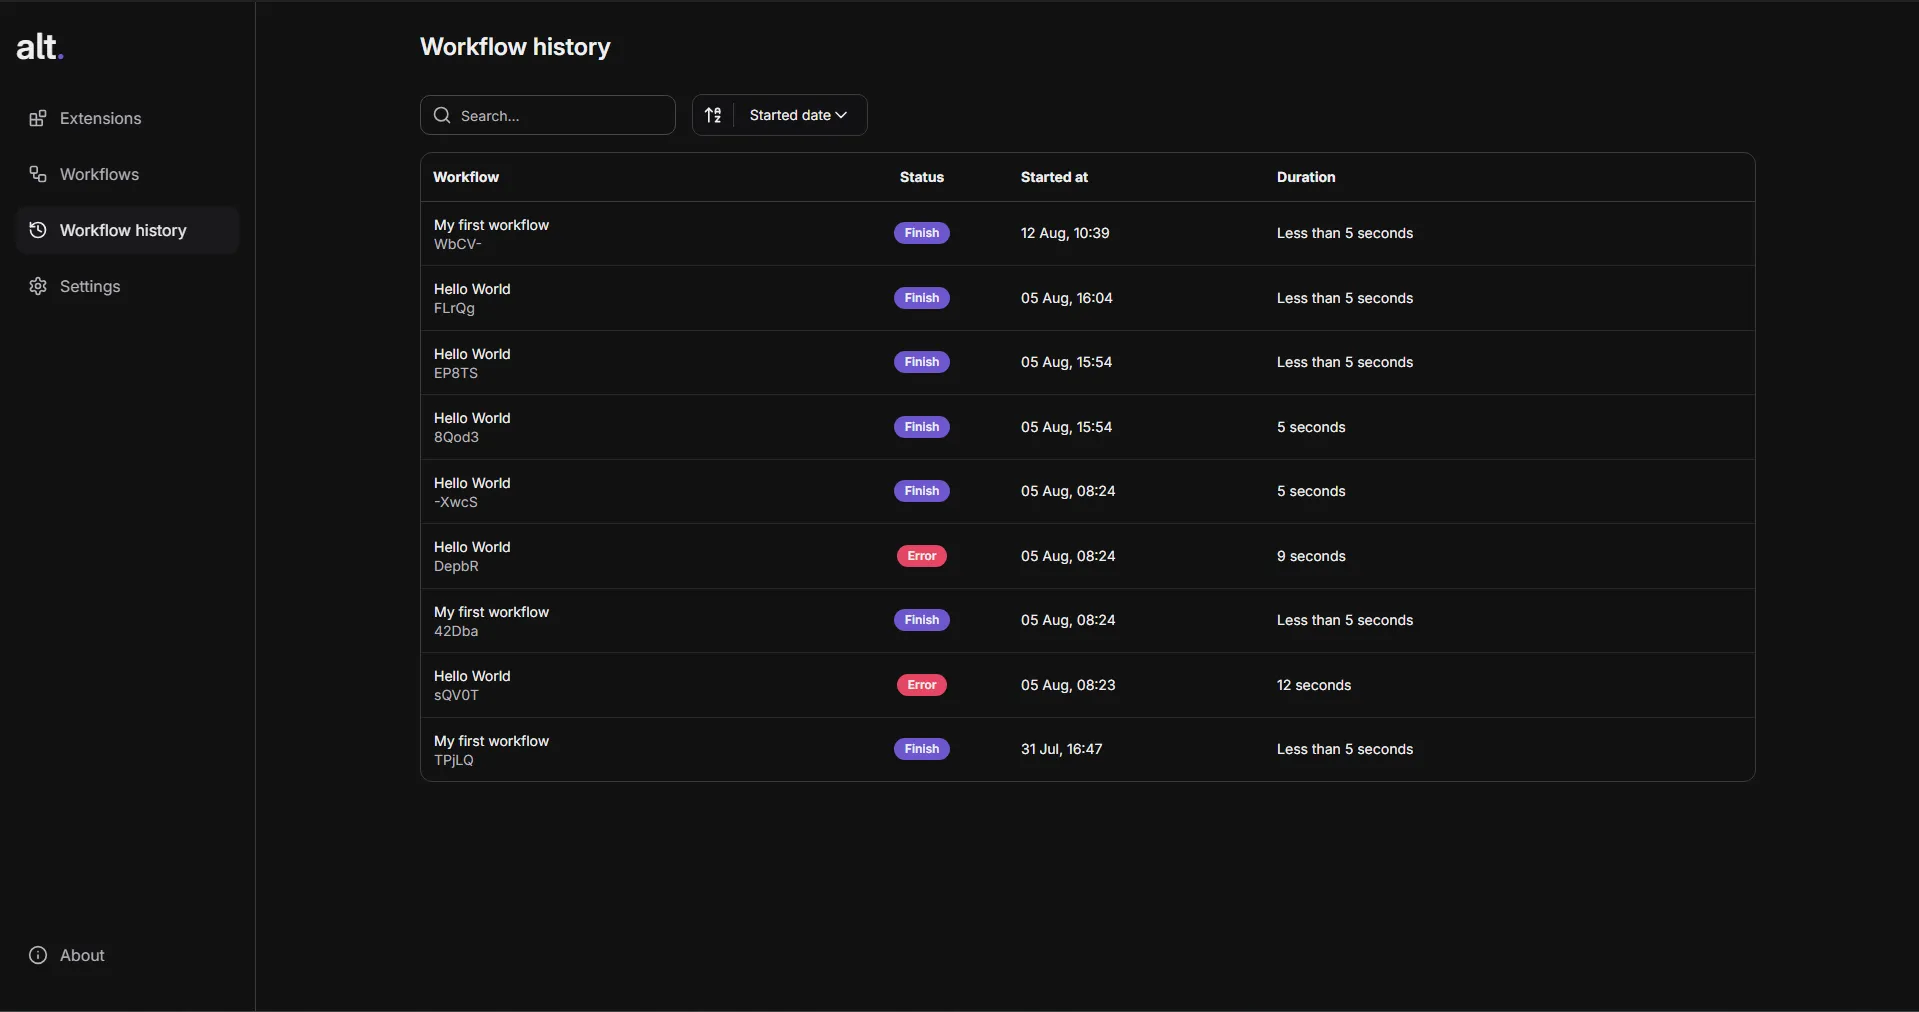
Workflow Execution History
You can check the execution status and the logs by going to the workflow history page in the dashboard.